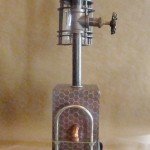
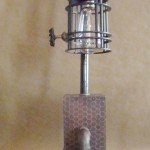
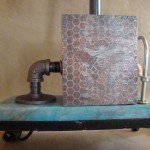
Final Assembly
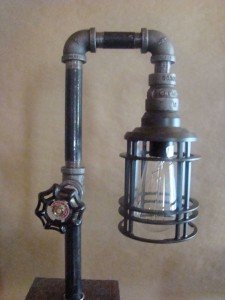
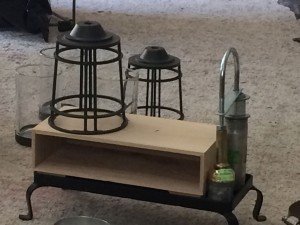
I fed the lamp wire up through the pipes from the base and used a pipe wrench to make sure the pipes were good and solidly fitted. While things dried or glued, I worked on other parts for this project. For example the bulb cage and the switch. I found a lamp holder that would fit and attached it to one of the wonderful “cages” I had picked up at the reStore. and added a coupling on top of that, so that I could attach more pipe. I also worked on the switch. Making a switch could easily be its own post, so I wont go into too much detail here, but will add it to my list of things to post about. Essentially, a rotary switch is attached to a valve stem and is anchored inside a pipe connector. Then the wires are fed through the pipe and wire up the switch. I love, love, love finding valve stems at the reStore because they are so expensive at the home improvement stores. So much so, that I usually do a simpler type of switch in a lamp if I don’t have a valve stem on hand.
Everything gets wired up and after checking it a half a dozen times to make sure the electrical works, I tighten everything down with the pipe wrench.
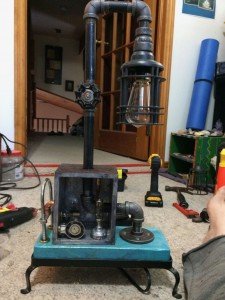
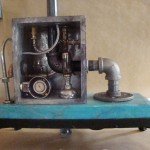
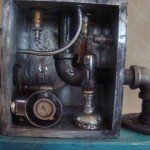
Next I work on the box. I play around with small parts, putting together various combinations of bits and pieces to create interesting widgets for inside the box. This part is where the real play comes in, and this process can take quite a while assembling little bits and pieces and deciding what should connect together and how. The old vacuum tubes were a great find at the reStore, I haven’t been that lucky finding them there and usually get them from a place called ‘Back to the Fuchsia’ here in town, where they have in addition to those, many many interesting things to check out.
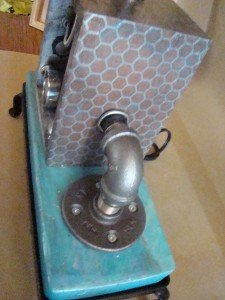
I felt it needed a bit of metal on the outside for balance and remembered this great little U shaped piece I had picked up and it was perfect. So I drilled some holes for it and then played around with some sort of pipe fitting to attach it to the box as well.
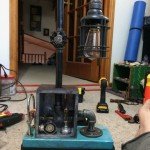
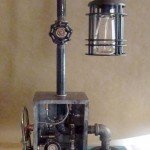
Once everything was glued and/or otherwise fastened together, I triple check the lamp again to make sure it works and woohoo, call it done!
