The Build
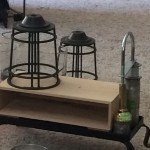
As usual I began by just laying out pieces to figure out what exactly this pile of stuff was going to become. I began sifting through the parts I had picked up at the reStore. Initially I had plans in my head to use the gorgeous box I had picked up there (only 5 bucks, btw), to create a new time machine. My original thought was to have it open on its side and be mounted on the cool metal base I had found. However, time constraints being what they are, and am still grappling with the electronics on my other small time machine, so I abandoned that idea.
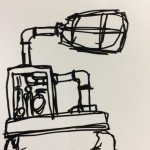
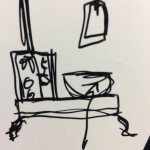
From there a lamp seemed to be the way to go. As I started playing with pieces, I began making small thumbnail sketches (insert pix) of a few ideas. I had made a few ‘lab lamps’ before and it seemed like a great way to go.
Now, I’ve been trying to remember to take pics as I go, and while I am getting better at it, I still forget sometimes, so we’ll work trough it. I would like to ultimately set up my studio so that can record work in progress automatically (still or video). If you have thoughts on the best way to do this, please share in the comments.
Putting it together
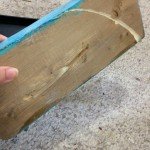
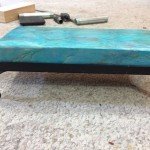
At first I tried various options for something to fit into the base, boxes, nothing, just filling it with small parts, but in the end I really felt it need a solid block of something to fill the void. I ended up cutting a chunk of wood leftover from another project and sanding it down till it had a really good fit. I thought about covering it with some gorgeous paper that had a vintage velvet feel to it in a very pretty red, but then decided i really preferred the idea of a faux turquoise paint job. A few layers of paint and some varnish to give it a satin sheen and then I glued it into the base. (If you’d like to see a tutorial on making a faux turquoise painted surface let me know in the comments.)
Laying out the pipes took a while to configure the right set up. I needed something to balance properly, look pleasing and still be practical. A few sketches later, I settled on a style that ran through the box and balanced out on the right side. I cut some vinyl on my cricut, with a honeycomb and bee pattern and after painting the box, attached it to the top, two sides and back. Then I added some more paint to distress the surface a bit more and sealed the whole thing. I painted the inside with an automotive chrome paint and added some black to help distress it a bit as well, so it wasn’t so shiny.
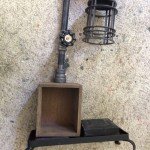
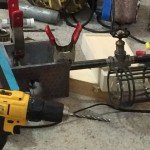
Next came cutting the two holes for the pipe to fit through. Since math is not my forté, I positioned the flange for the base beside the box and screwed and glued that down. Then I attached the pipe going to the box, but used a shorty so I could have the box on the base and mark the spot it would go through. I did similar to get the hole marked for the top and then drilled both.
Fitting it all together
Once the box was attached to the base, I been assembling the pipe into the configuration I wanted. I had to adjust a little as I went to get the balance right and so the bulb cage didn’t end up too low.Once that was figured out, I disassembled it down to just where the pipe came out of the box.
Stay tuned for Part three, where I talk about the final assembly of the lamp.
Links
For more information on the Habitat For Humanity Event and auction.
The Habitat for Humanity ReStore
Golden Fluid Acrylic, Carbon Black *
*Full disclosure: I earn a small commission from items purchased at the shops I recommend. There is no extra fee charged to you for using these recommendations.
