Building the Boosters
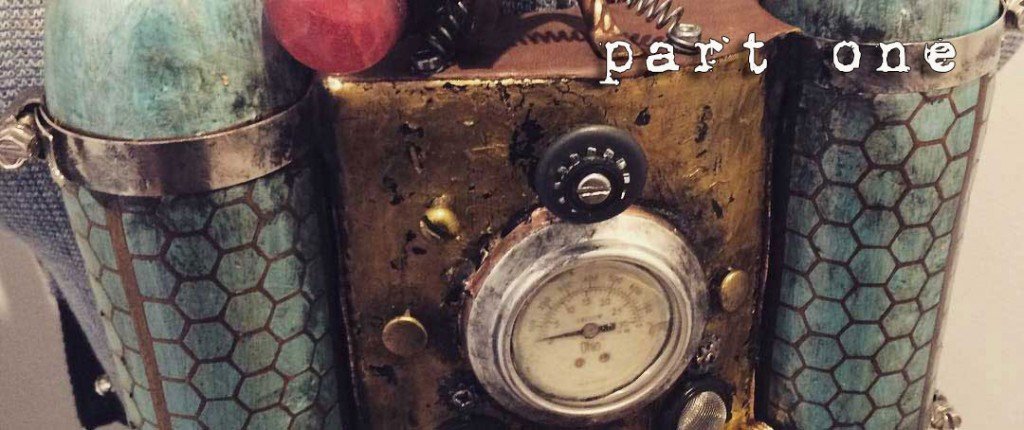
For a while now I’ve been trying to construct a “lady’s jetpack”. It’s a smaller more elegant take on the typical steampunk jetpack. Unfortunately, I keep forgetting to take photos as I go, (I’m getting better, but it’s not “second nature” yet, so, I didn’t take a lot of photos while I was building the boosters.) They are a Frankenstein patchwork of plastic bottles, resin and papier-mâché which has been covered with a thin veneer of a mix of drywall mud and acrylic medium. My sister gave me a few straight sided, rather skinny bottles that just have a lovely shape. I thought about filling them with sand or something to give them a bit more weight, but then I figured this jetpack is supposed to be lighter and smaller so decided not to do that for this one. I added half of a plastic egg container (the kind you put candy in for kids at Easter) to the bottom of the bottle to help change the shape a bit and after it cured, I started with the papier maché. Once that was completely dry, I gave it a coat of mod podge, let that dry and then mixed up a batch of drywall mud and acrylic medium and painted that on. Once that is dry, I sand it and repeat a couple more times. This give a nice finish for painting. It also allows me to add texture if I want while it’s wet, like on the “whale ship” pictured at the right.
A topcoat of acrylic medium later, and it was ready for paint. (I’m planning a blog post talking about the making of the whale ship coming up)
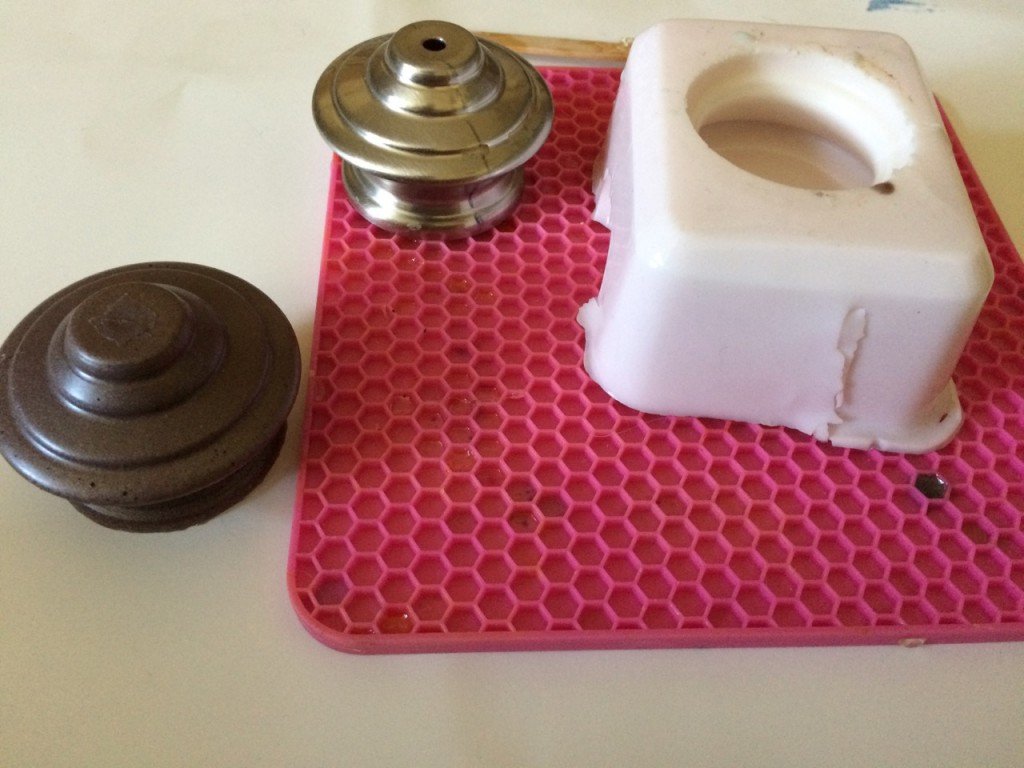
I had torn apart some metal candlesticks previously and had used parts of them for airship bases earlier. I still have this one left over and playing around with it thought it added a nice “blaster part” to the bottom of the rocket. The problem is I now only had one..and needed two. So, of course I mixed up some silicone molding material and made a mold. (Would any of you be interested in a post about that? Let me know in the comments.) Then I poured some coloured resin and made a copy, and repeated the process when that one was cured, so that I had two. I had do a bit of drilling with a spade bit to create a space to attach it to the bottom of the bottle. Sorry I don’t have any photos of it at that stage


Materials
Some of the materials I used making the jetpack. Disclosure: Please note on links, I do receive a small payment for advertising these links.
- Moldmaking compund : Amazing Casting Products Alumilite Amazing Mold Rubber Kit
- Cricut Explore Air II
- Cricut vinyl
- washi tape
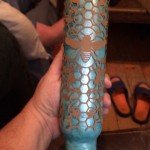
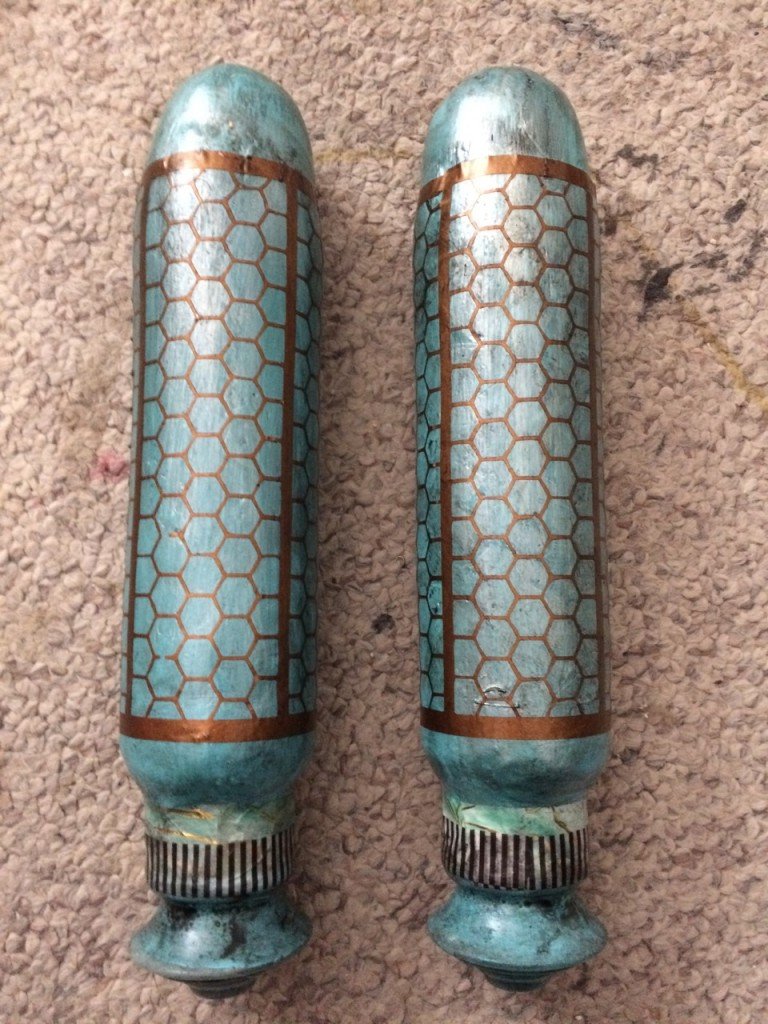
I painted the rocket blasters a lovely robin’s egg blue with a bit of an iridescent sheen. I wanted a metal mesh wrapping them, but couldn’t find exactly what I was after, so I created my own honeycomb pattern in illustrator and cut it on my cricut machine from a copper coloured vinyl. Initially I made the pattern above with bees and leaves and had thought that would look interesting. However I made a test in paper first and really did not like the way it was working and thought maybe it would be better for the centre control panel, so I cut just the honeycomb pattern instead. Once that was applied, I dirtied it up with some black /brown paint, making sure I really got some ‘grime’ in the bottom of the thrusters. At this point, this is how they look.
Check out part two, where I will talk about the centre control panel, and part three where it all comes together.
In the meantime, if you have questions, feel free to ask in the comments. I’d love to hear what you think.
note: this is a cross post from Professor Millie Moon’s Fantastical Contraptions
