Part Two: The Control Panel
This is Part Two of a series of posts about building a jetpack. You can check out the first post here. In that post I talked about building the boosters. Here, we’ll dive into the center control panel. and in and part three, I finish up and complete the jetpack.
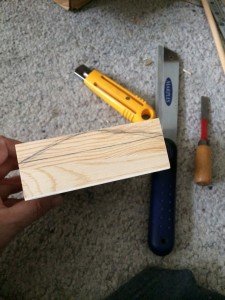
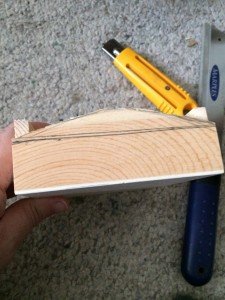
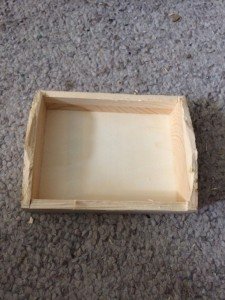
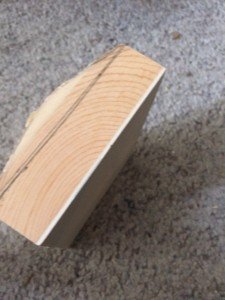
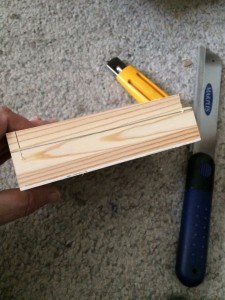
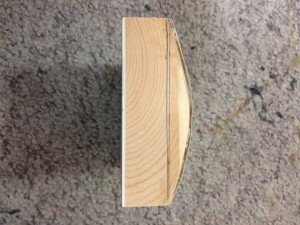
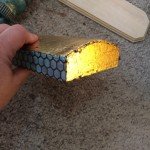
Moving on to the control box between the two boosters. Initially, I was playing around with a metal box, but the hard edges just seemed wrong. Then, as often happens, I picked up the new iteration of a small time machine also on the go, on my bench. (I say bench, but in reality, I tend to just sit on the floor to work on stuff, I’m not sure why, and somehow end up with a little circle of projects around me that I need to precariously step in and out of. Does anyone else do that?) Anyway, the new time machine is using a smallish box that has a “treasure box” type of lid. I had recently covered it in gold leaf, and was checking it out to make sure it looked the way I wanted, when I put it down between the boosters. Hmm, I liked that waaay better. Do I have another box like that lying around? I scan the room, of course not, so I do my little little dance to get up without disturbing anything, and begin hunting around the studio. Nothing. I have another box that is about the right size in width and length, but still had the hard edges similar to the metal box. The next day was Saturday, my day out with Laura, where we putz around and oftentimes hunt for things to bring back to the studio. It became a bit of a mission for us to find a little box that had a rounded top similar to the time machine, but were not successful. Back at home on Sunday, I was almost ready to resign myself to the square edge box, that it “would do”, when it occurred to me, why couldn’t I just alter that box to have a curved top. It didn’t need to open as a box, and I had some pine veneer left over from a previous project. So I began by tracing the outline onto the ends of the box. (here is where I really remembered to take more photos as I went along)
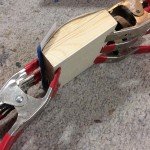
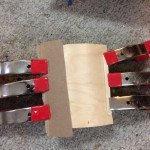
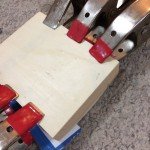
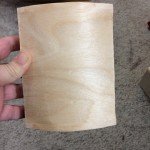
Then I used my Japanese pull saw to cut the shape. After much sanding, I have a nice shell to lay my veneer on. I cut a piece of wood to match the ends and put it in the middle to add support to the veneer. I glue that up and clamp the heck out of it, using some cardboard underneath to protect the veneer from the clamps making marks on my veneer. Once that is completely dry, I think I left it for a day or two, I removed the clamps and did some more trimming and sanding to get a nice smooth edge between the box and the veneer top. I used my Dremel a bit here to get it just right
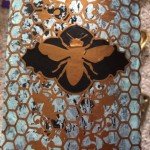
Initially I painted it the same colour as the boosters, that beautiful robins egg blue and did a crackle finish. I had cut a pattern on my cricut with a bee that I placed in the centre, but didn’t really like it, it found it too distracting and wouldn’t be able to place controls and gauges on top if I had that without covering the image up anyway. So I ended up doing a thick coat of paint on top. Finally in the end I added some gold leaf, because I just felt it added more to the piece. That’s all part of the process, sometimes you just have to be willing to change as you go. You have to be open to new possibilities so that you can create the best version at the moment that you can.You can still see the vinyl cutout of the bee underneath, but once I add things to it, it will just appear as a nice texture. I shaded it and added some varnish for protection and moved on to the gauges.
One of my favourite ways to do gauges is with pop can bottoms. I use pop can metal for a lot of things, so end up with a lot of the bottoms and tops. I take the bottoms (or tops) and fill them partially with a bit of resin and let that cure. Then I use printed gauges that I have either created or photographed and cut it to size, coat it with a bit of sealer and place inside the pop can bottom. Then I add more resin to fill the “gauge”. Once it is cured, I use torn up cotton balls to fill the underside of the can to help create a bit of a larger area for gluing up to the control box. I added a bit of copper tape to the bottom edge of the gauge just to add some colour. I use epoxy to attach it to the control box and clamp it all together.
I add some ring clamps to the sides of the box, epoxy them and use a plastic tape to help clamp it down tim it cures.

Playing with other bits and pieces I start to create the rest of the control box. Some copper tubing, springs, hose screens and other bits and bobs that I have in my treasure trove of parts.

Check out Part three where I talk about finishing it all up and putting the whole thing together.
This is a cross-post from Professor Millie Moon on wordpress.com
Full Disclosure and a small side-note: Product links are affiliate links, where I get paid a small amount if you purchase that product using the link I share
